Preserving memories through photos is a cherished tradition, and a self - stick photo album provides a convenient and creative way to do just that. Whether you're looking to document a family vacation, celebrate a special occasion, or simply keep track of life's everyday moments, knowing how to stick photos in a self - stick photo album properly can make all the difference. In this guide, we'll explore the step - by - step process, tips, and common mistakes to avoid when working with self - stick photo albums. So, gather your favorite prints, and let's embark on this journey of creating a beautiful keepsake that will last a lifetime.

Preparing Your Materials
1. The Right Photo Album
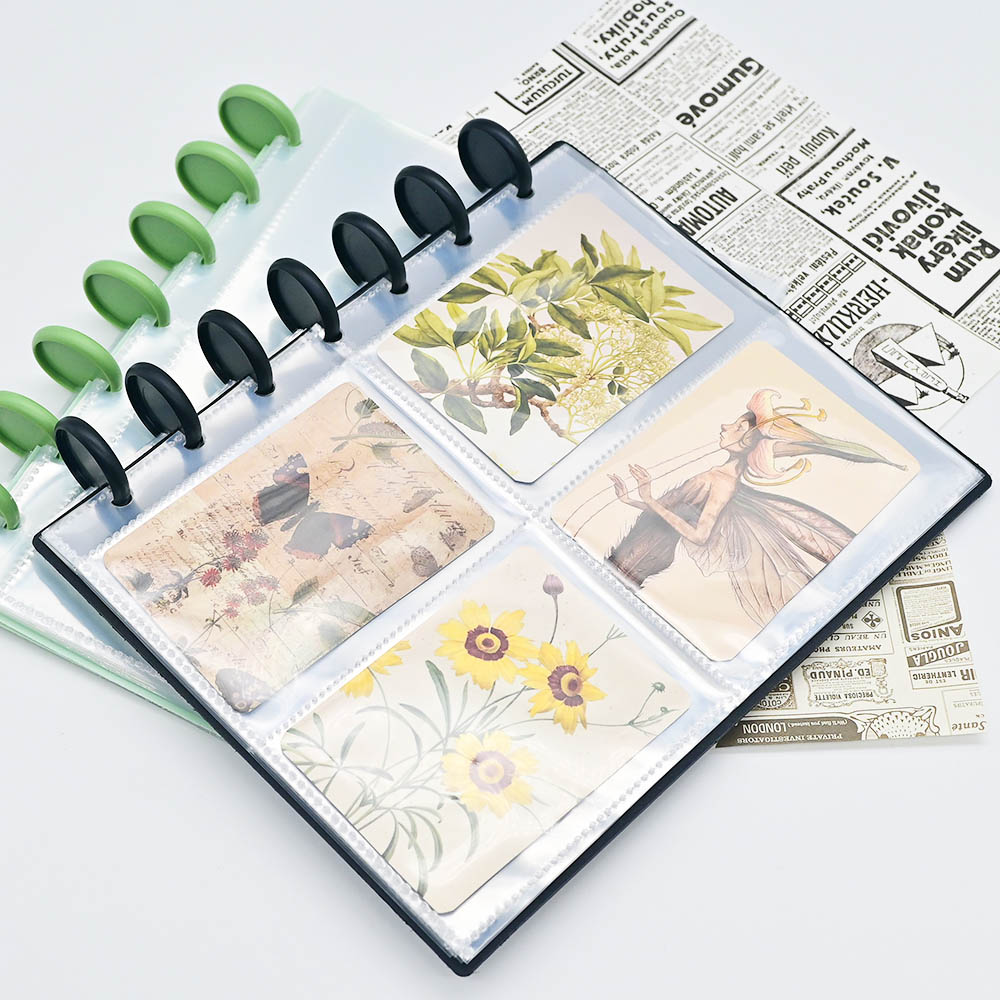
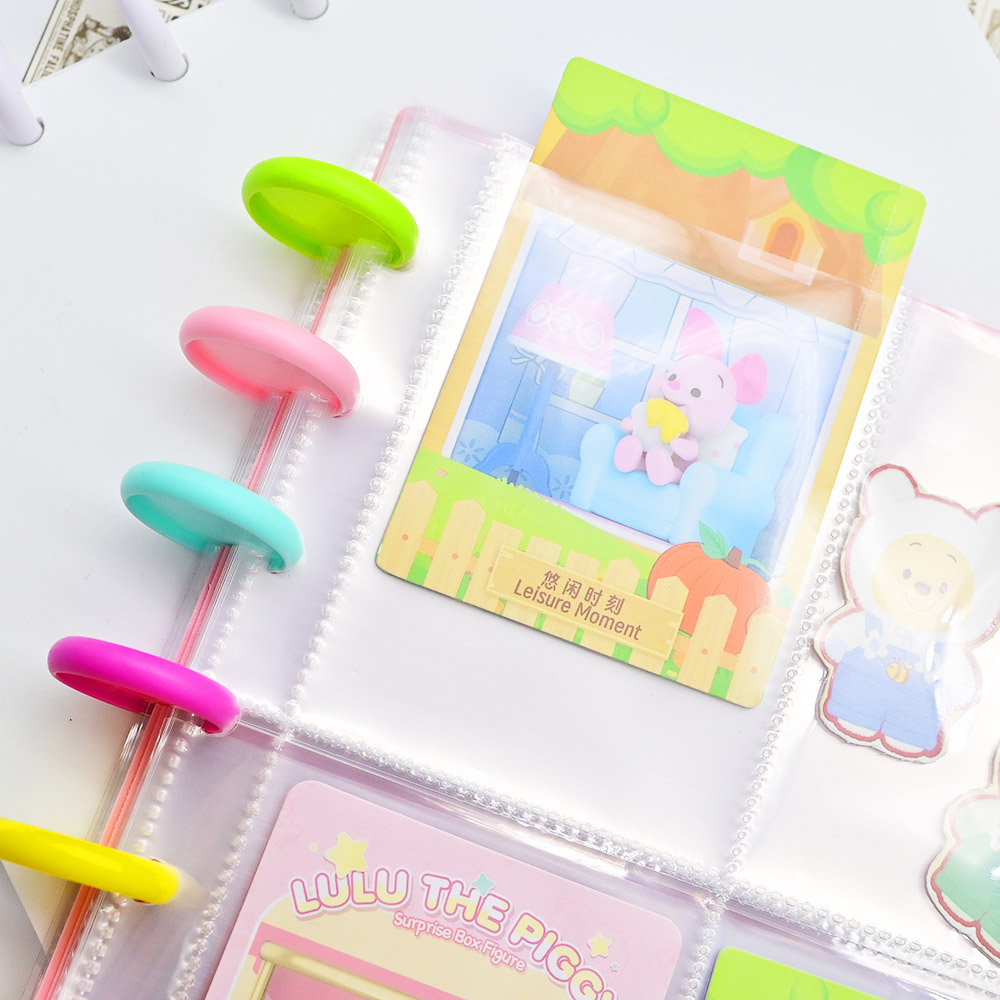
Choosing the perfect sticker photo album or photo albums self stick is the first step towards a successful memory - preserving project. When making your selection, consider the size of the album. If you have a lot of 4x6 inch photos, a standard size album will work, but if you have larger prints or a mix of sizes, an album with adjustable or larger pages might be better. The page material is also crucial. Look for pages that are acid - free and lignin - free, as these properties prevent yellowing and damage to your photos over time. Additionally, think about the style of the album. Do you prefer a classic leather cover, a colorful fabric design, or a sleek minimalist look? The style should reflect your personality and the theme of the memories you're preserving.
2. Selecting Your Photos
Before you start sticking, take some time to sort through your photos. Quality matters – choose photos that are clear, not faded, and free from scratches. It's also a good idea to consider the theme of your album. If it's a vacation album, focus on photos from that trip; for a family gathering album, select the best shots of relatives and activities. Don't be afraid to be selective – you don't need to include every photo you took. A curated collection will make the album more enjoyable to flip through. You can also group photos by moments, such as a day at the beach, a birthday party game, or a scenic hike, to create a logical flow.
3. Gathering Additional Supplies
While a self - stick photo album is designed to be user - friendly, having a few additional supplies on hand can make the process even smoother. A pair of sharp scissors is essential for trimming any uneven edges on your photos or cutting out special shapes if you're feeling creative. A ruler helps with measuring and ensuring straight lines when positioning your photos, especially if you want a neat and organized layout. A pencil with a good eraser is useful for lightly marking positions on the album pages before sticking – this way, you can adjust the layout without leaving permanent marks. You might also want to have a soft cloth or tissue handy to wipe away any fingerprints or dust from the photos or album pages.
Step - by - Step Sticking Process
1. Cleaning and Prepping the Album Pages
Before you start placing your photos, it's important to ensure that the pages of your self - stick album are clean. Dust, dirt, or even small particles can get trapped between the photo and the page, causing the photo to lift over time or leaving unsightly marks. To clean the pages, gently wipe them with a dry, soft cloth. Avoid using any liquids, as they can damage the adhesive properties of the self - stick pages. If there are any stubborn spots, use a dry cotton swab to carefully remove them. Once the pages are clean, let them sit for a minute or two to make sure they're completely dry before proceeding.
2. Positioning Your Photos
Positioning your photos is where the creativity starts. Lay out all your selected photos on the album page without sticking them down first. This allows you to experiment with different layouts and find the one that looks best. Try arranging them in a grid pattern for a clean look, or overlap them slightly for a more casual, playful feel. For a themed album, you can arrange photos chronologically to tell a story. Use a pencil to make tiny, light marks on the page to indicate where each photo should go – these marks will be covered by the photos once they're stuck down. If you're working with irregularly shaped photos, like those from a polaroid camera, take extra time to position them so they fit well with the other photos on the page.
3. Peeling and Sticking
Once you're happy with the positioning, it's time to start sticking. Most self - stick photo album pages have a protective layer that covers the adhesive. Carefully peel back this layer, starting from one corner. Be slow and gentle to avoid tearing the page or damaging the adhesive. Then, pick up a photo by its edges to avoid leaving fingerprints, and align it with the pencil marks you made earlier. Start sticking from one edge of the photo, pressing it down lightly as you smooth it across the page. This helps to prevent air bubbles from forming. If you do notice a bubble, gently lift the edge of the photo and press the bubble out towards the edge with your finger or a soft cloth.
4. Ensuring a Secure Bond
After sticking a photo, run your fingers gently over the entire surface, applying light pressure. This ensures that the photo makes full contact with the adhesive and creates a secure bond. Pay extra attention to the edges and corners, as these are the areas most likely to lift over time. If a photo seems to be loose, you can apply a tiny bit more pressure, but be careful not to press too hard, as this might damage the photo. For particularly heavy or large photos, you can let them sit for a few minutes after pressing to allow the adhesive to set properly. In some cases, if you're worried about a photo coming loose, you can use a small dot of acid - free glue on the corners, but this should be a last resort as the self - stick pages are designed to hold the photos on their own.

Tips and Tricks for a Professional Look
Creating Visual Balance
Achieving visual balance in your self - stick photo album pages can make a big difference in how appealing they are. Consider the colors of your photos – spread out bright, bold colors evenly across the page to avoid one area feeling too overwhelming. Mix up the sizes of your photos as well; a large photo can be the focal point, with smaller photos surrounding it to create interest. Pay attention to the spacing between photos – keeping a consistent gap, even if it's small, gives the page a polished look. You can also use the rule of thirds, imagining the page divided into nine equal parts, and placing key elements of your photos along these lines or at their intersections, to create a more dynamic layout.
Adding Decorative Elements
While the photos are the stars of the show, adding a few decorative elements can enhance the overall look of your album. Stickers that match the theme of your photos, such as beach stickers for a vacation album or birthday hats for a party album, can add a fun touch. A thin strip of ribbon along the edge of a page or around a group of photos can add a touch of elegance. Handwritten notes or captions, using a fine - tipped permanent marker or acid - free pen, can provide context to the photos – jot down the date, location, or a funny story about the moment captured. However, it's important not to overdo it. The decorations should complement the photos, not overshadow them. A good rule of thumb is to use no more than three different types of decorations per page.
Handling Challenging Photos
Large - sized photos can be tricky to fit into a standard self - stick photo album. If a photo is too big, carefully trim it using scissors, making sure to leave enough of the image to keep the moment intact. For multiple photos that tell a single story, such as a sequence of a child blowing out birthday candles, you can arrange them in a collage, overlapping slightly to create a sense of flow. Irregularly shaped photos, like those cut into hearts or stars, can be positioned by first tracing their outline on a piece of paper, cutting it out, and using that as a guide to mark their position on the album page. This way, you can ensure they're placed exactly where you want them. For photos with delicate edges, handle them with extra care when peeling and sticking, and consider reinforcing the edges with a tiny bit of pressure after sticking.
Maintenance and Long - Term Preservation
Protecting Your Album from Damage
To keep your self - stick photo album in good condition, it's important to protect it from physical damage. Avoid placing heavy objects on top of the album, as this can cause the pages to bend or the photos to shift. Store the album in a cool, dry place – excessive moisture can cause the pages to warp and the photos to mildew, while direct sunlight can fade the photos and the album cover. A sturdy box or a bookcase with a door is a good storage option, as it shields the album from dust and light. If you're traveling with the album, use a padded case to prevent it from getting bumped or crushed.
Regular Checks and Repairs
It's a good idea to check your self - photo album self stick every few months for any signs of wear and tear. Look for photos that are starting to lift at the edges or corners – if you find any, gently press them back down, applying light pressure for a few seconds. If a photo has completely come loose, clean the area where it was stuck with a dry cloth, then reposition and stick it down again, following the same steps as before. Check the album cover and binding for any damage, such as cracks or tears, and repair them if possible using acid - free tape. By catching and addressing these issues early, you can prevent further damage and ensure that your memories stay preserved.
Post time: Jul-17-2025